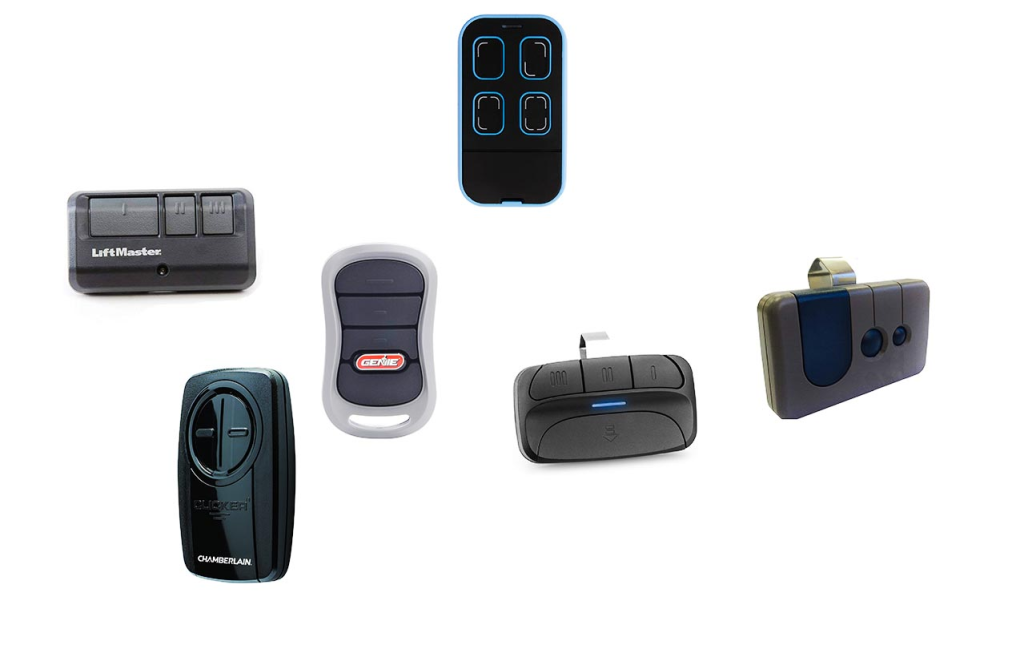
Craftsman garage door openers are known for their reliability, ease of use, and convenient features. If you’ve recently purchased an additional remote or keypad and want to add it to your existing Craftsman system, you might be wondering: How to add another device to Craftsman garage door opener? Adding another device is a simple process but requires following a series of steps to ensure proper programming and security.

In this comprehensive guide, we’ll walk you through the entire procedure to program multiple remotes or keypads with your Craftsman garage door opener. Whether you want to add a new remote for a family member or install a wireless keypad for secure access, this article will cover everything you need to know.
Understanding Your Craftsman Garage Door Opener System
Before diving into programming, it helps to understand how Craftsman garage door openers work. Craftsman models use a rolling code system to ensure secure communication between your remote devices and the opener’s receiver. This means that every time you press a remote button, a unique code is sent to the opener, preventing interference or unauthorized access.
Most Craftsman openers have a “Learn” button located on the motor unit, which is essential for programming additional devices. This button puts the opener into programming mode, allowing it to recognize new remotes or keypads.
Read too: Craftsman Garage Door Keypad Not Working? Here’s How to Troubleshoot and Fix It
How To Add Another Device To Craftsman Garage Door Opener
How To Add Another Device To Craftsman Garage Door Opener: Step-By-Step Instructions
Adding a new remote or keypad to your Craftsman garage door opener involves a few simple steps:
Step 1: Locate the “Learn” Button on Your Garage Door Opener
- The “Learn” button is typically found on the back or side of the motor unit mounted on your garage ceiling.
- It is often a square or rectangular button, sometimes red, yellow, orange, or purple, depending on the model.
- You might need a ladder to reach it safely.
Step 2: Prepare Your New Device
- Make sure the new remote control or keypad has fresh batteries.
- If it’s a keypad, note whether you need to set a PIN code before programming.
Step 3: Enter Programming Mode on the Opener
- Press and release the “Learn” button on the opener.
- An indicator light will turn on or blink, signaling the opener is in programming mode.
- You have about 30 seconds to complete the next step.
Step 4: Program the New Device
- For remotes: Press and hold the button on the remote that you want to program until the opener’s lights blink or you hear a click sound.
- For keypads: Enter your chosen PIN and press the “Enter” or “Program” button as instructed in your keypad’s manual.
- The opener will acknowledge successful programming by blinking lights or operating the garage door.
Step 5: Test Your New Device
- After programming, test the new remote or keypad to ensure it opens and closes the garage door smoothly.
- If it doesn’t work, repeat the steps carefully.
Tips for Adding Multiple Devices
- Maximum Number of Devices: Most Craftsman openers can store up to 8 remote devices and keypads. Check your model’s manual for exact limits.
- Clear Old Codes: If your opener is full or you want to remove lost remotes, you can clear all programmed devices by holding the “Learn” button for about 6-10 seconds until the indicator light turns off. Then reprogram the devices you want to keep.
- Use the Same Button: When programming multiple remotes, you can assign different buttons for various functions or use the same button for all.
- Keep Your Opener Manual Handy: Each Craftsman model may have minor variations. Refer to your manual for model-specific instructions.
Troubleshooting Common Issues When Adding Devices
If you encounter problems programming your new device, consider these tips:
- No Response from Opener: Make sure you are within range and pressing the correct remote button during programming.
- Learn Button Not Found: Consult the manual or Craftsman’s website for the exact location.
- Remote Not Working After Programming: Check remote batteries, and try resetting by clearing all codes and reprogramming.
- Interference Issues: Nearby radio signals or other electronic devices can sometimes interfere. Move away and try again.
Why Add Another Device To Your Craftsman Garage Door Opener?
Having multiple devices programmed to your Craftsman opener brings many advantages:
- Convenience: Allow family members, guests, or caregivers easy access without sharing a single remote.
- Security: Use keypads with unique PINs for controlled access.
- Backup Access: Keep an extra remote in your vehicle or home for emergencies.
- Multiple Garage Doors: Program different remotes for different doors if you have more than one opener.
Maintaining Your Craftsman Garage Door Opener Devices
To ensure long-term functionality:
- Replace remote and keypad batteries regularly.
- Keep remotes away from extreme temperatures and moisture.
- Reprogram devices after power outages or when changing batteries in the opener unit.
- Periodically check all remotes for proper operation.
When to Contact a Professional
While adding devices is usually straightforward, some situations might require professional help:
- You cannot locate or access the “Learn” button.
- Your opener does not respond to programming attempts.
- You want to upgrade to a newer, more secure model.
- Installation of additional components like wireless keypads.
Conclusion
Knowing how to add another device to Craftsman garage door opener empowers you to expand your system’s functionality and convenience easily. By following the simple step-by-step instructions, you can program new remotes and keypads quickly and securely, ensuring everyone who needs access can have it without hassle.
Always refer to your specific model’s manual for any variations, and maintain your devices for reliable operation. Whether you’re adding a remote for a new car or a keypad for enhanced security, Craftsman’s system makes it simple to keep your garage accessible and safe.
