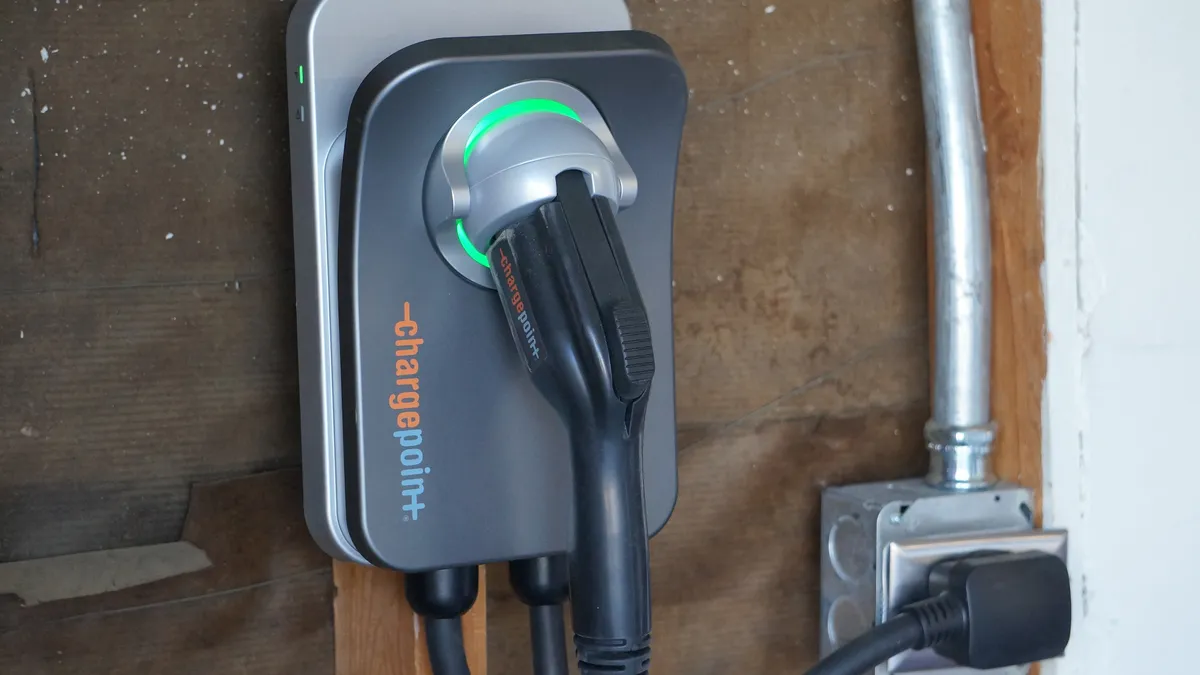
In the era of electric vehicles, the convenience of charging at home has become a game-changer for EV owners. If you’re considering making the switch to an electric car, the first crucial step is to understand how to Install Electric Car Charger at Home effectively. Let’s explore the ins and outs of this process, making the transition to electric mobility seamless and hassle-free.
Introduction
With the rising popularity of electric vehicles, having a dedicated electric car charger at home has become essential for many EV owners. This article aims to provide a comprehensive guide on how to install an electric car charger, offering valuable insights for those looking to embrace sustainable transportation without the complexities of relying solely on public charging stations.
Read too: To Buy Electric or Hybrid Car? Uncover the Pros and Cons to Make an Informed Decision
Understanding the Basics of Electric Car Charging
Before diving into the installation process, it’s crucial to grasp the fundamentals of electric car charging. This section briefly covers the types of electric car chargers, charging speeds, and the equipment required for a home charging setup. Building a solid foundation of knowledge ensures a smoother installation process.
Install Electric Car Charger: A Step-by-Step Guide
Demystifying the Process: How to Install Electric Car Charger at Home
- Evaluate Your Electrical System: Before starting the installation, assess your home’s electrical system to ensure it can support an electric car charger. This step involves checking the capacity of your electrical panel and determining if any upgrades are necessary.
- Select the Right Charger: Choose an electric car charger that suits your vehicle’s charging capabilities and aligns with your charging needs. Consider factors such as charging speed, connector type, and smart charging features.
- Determine Installation Location: Identify the most suitable location for installing the charger. Factors such as proximity to the electrical panel, accessibility, and protection from the elements should be taken into account.
- Prepare Necessary Tools and Materials: Gather all the tools and materials needed for the installation, including wiring, conduit, electrical boxes, and mounting hardware. Ensuring you have everything on hand will streamline the installation process.
- Shut Off Power and Install Breaker: Turn off the power to the designated electrical circuit and install a dedicated breaker for the electric car charger. This step is crucial for safety and compliance with electrical codes.
- Mount the Charger: Install the mounting bracket and secure the electric car charger in the chosen location. Follow the manufacturer’s instructions for proper installation and ensure a stable and secure mounting.
- Connect the Wiring: Carefully connect the wiring according to the manufacturer’s guidelines, ensuring proper sizing and insulation. Double-check all connections to prevent any electrical issues.
- Test the Charger: Once the installation is complete, turn on the power and test the electric car charger to ensure it is functioning correctly. Check for any error messages and address them promptly.
Additional Tips and Considerations
This section provides extra insights and considerations, such as the importance of regular maintenance, potential cost savings, and the evolving landscape of electric car charging technology.
Conclusion: Empowering EV Owners with Home Charging
In conclusion, knowing how to Install Electric Car Charger at Home empowers electric vehicle owners with the convenience of charging in their own space. Following a systematic approach and understanding the essentials of the installation process makes transitioning to electric mobility a seamless and rewarding experience.
